
Choosing a Mylar bag sounds easy until you start looking at the options.
Do you need a pouch that stands up? Should it have a zipper? Would a flat bag be easier to pack and ship? What about a window? And does paying more for a flat-bottom bag actually make sense for your product?
There isn’t one type of Mylar bag that works for everything. A bag that makes perfect sense for coffee may be unnecessarily complicated for a single-serving powder. Packaging cookies in a pouch meant for bulk products creates another set of problems.
So instead of looking at Mylar bags as a list of styles, it helps to look at what each style is actually good at.
Stand-Up Bags Are Popular for a Reason
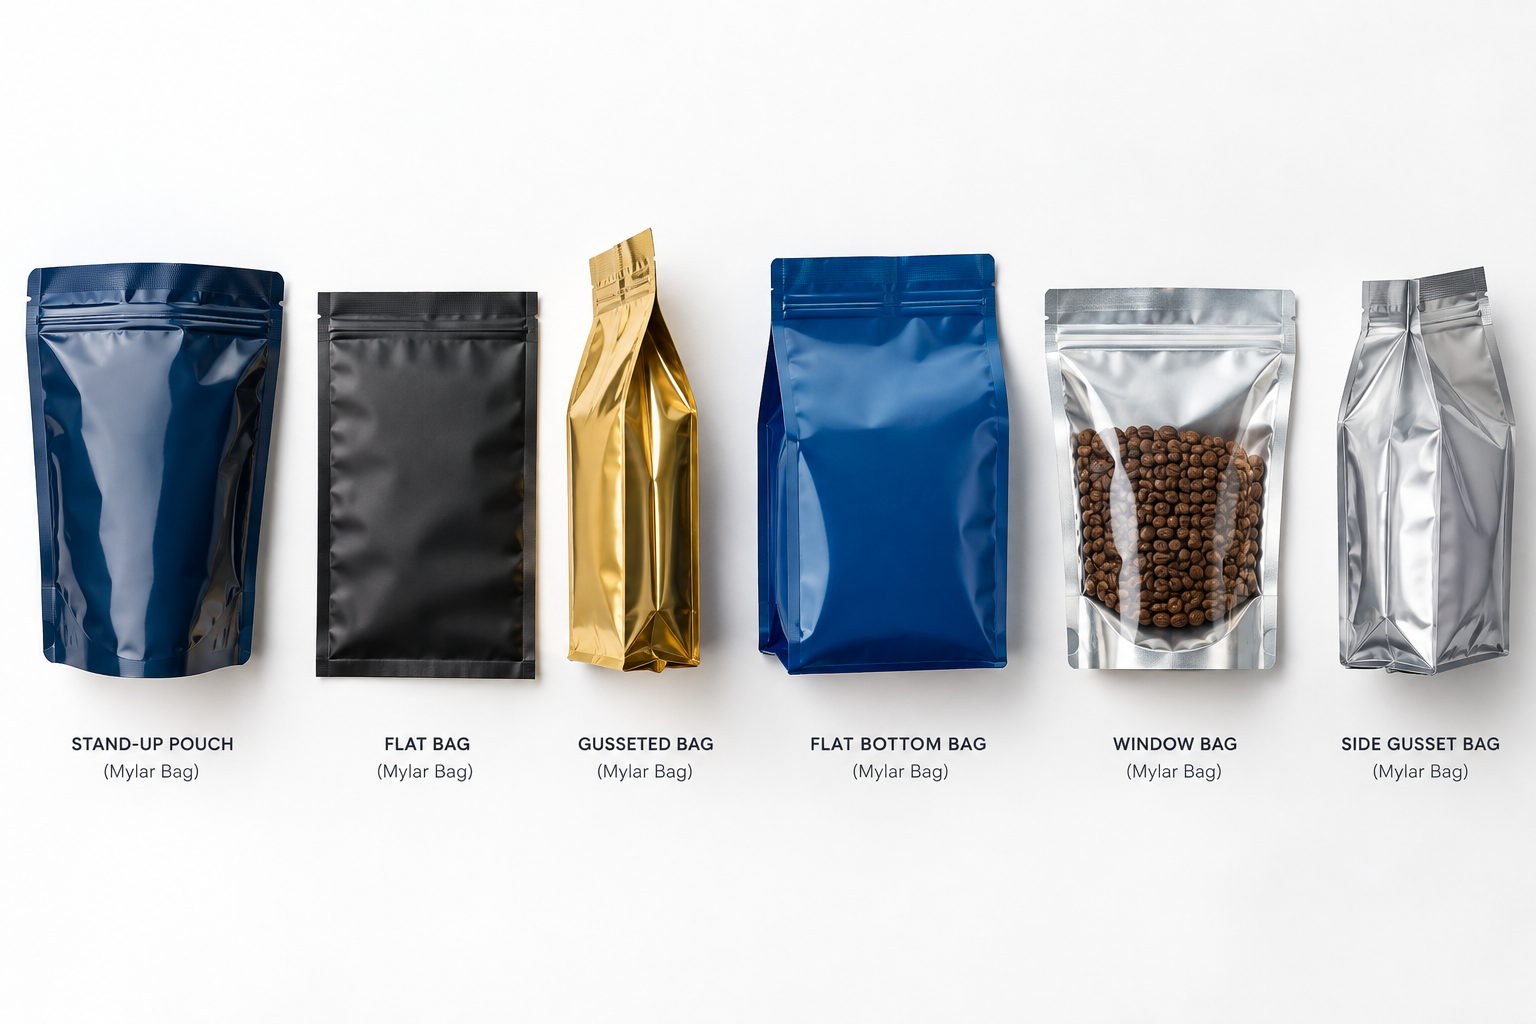
Walk through the snack, coffee, or pet-treat aisle and you’ll see plenty of stand-up pouches.
The bottom opens out when the bag is filled, giving it enough support to sit upright. That immediately makes the front panel more useful because customers can see the branding without someone having to prop the package up.
For products sold on shelves, that’s a practical advantage.
They’re also fairly versatile. You can add a zipper if the product will be used more than once, use a window when seeing the contents matters, or keep the pouch fully printed.
But don’t choose a stand-up bag just because it is familiar. If your product will be packed inside another box or sold as a small single-use portion, paying for that extra structure may not give you much in return.
Sometimes a Flat Bag Is All You Need
Not every package has to stand on its own.
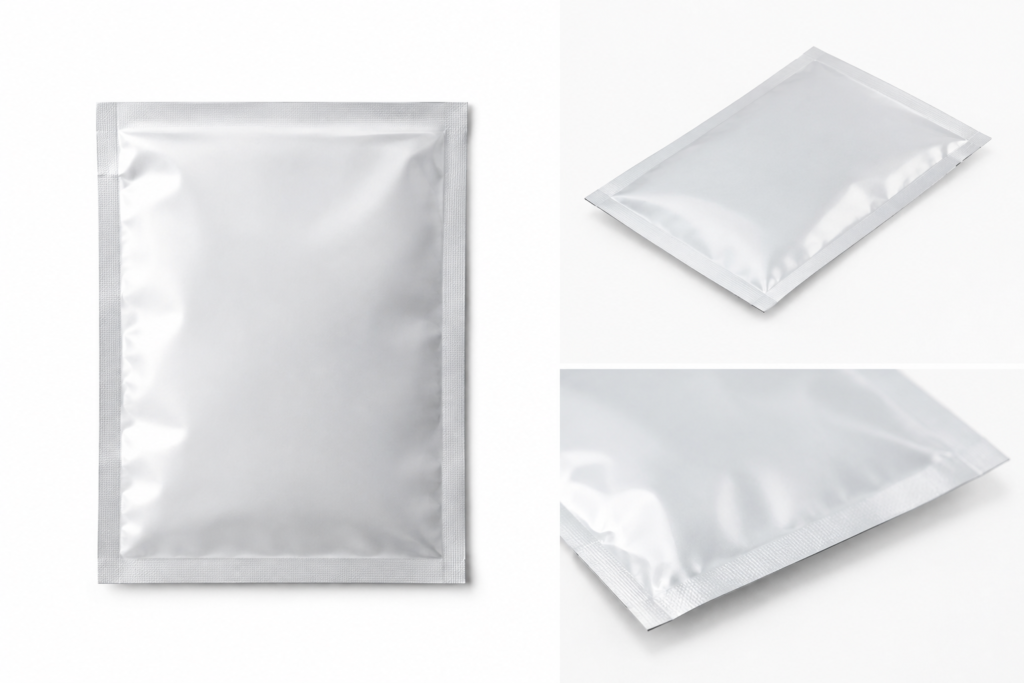
Flat and three-side-seal bags are useful when keeping the package compact matters more than shelf presence. Think samples, powders, small portions, accessories, or products that will eventually sit inside another carton.
They’re straightforward: the product goes in, the remaining opening is sealed, and the finished pack stays relatively slim.
For a small sample, that can be exactly what you want.
Try putting a bulky product into the same format, though, and the limitations become obvious. There isn’t much room for expansion, and the pouch can quickly start looking overfilled.
This is where gussets come in.
Gussets Give the Product Somewhere to Go
A gusset is basically extra folded material that opens as the bag fills.
It doesn’t sound particularly exciting, but it makes a noticeable difference when you’re packing more product. Instead of forcing everything between two flat panels, the pouch gets additional depth.
Side-gusseted mylar bagsare often associated with products such as coffee, while bottom gussets are common on stand-up pouches.
The important thing is to test them.
An empty packaging sample can look perfectly proportioned on your desk and surprisingly awkward once you’ve added 12 or 16 ounces of product. Fill it, pick it up, put it on a shelf, and see what actually happens.
Flat-Bottom Bags Give You More Structure
If presentation is a bigger part of the brief, a flat-bottom pouch is worth looking at.
These bags have a broader, flatter base and a more structured shape. Once filled, they can feel closer to a box while still keeping the advantages of flexible packaging.
That also gives designers more defined surfaces to work with. The front can carry the main branding while side panels handle secondary information.
Coffee and specialty foods often suit this format, but it isn’t automatically the “better” bag. More structure usually means a more involved package. If your product doesn’t benefit from the shape, a simpler stand-up pouch may do the job just as well.
A Zipper Makes Sense When People Come Back to the Product
Ask one simple question: will the customer finish what’s inside after opening it?
If the answer is probably not, a zipper starts making sense.
Coffee, dried fruit, granola, candy, pet treats, and plenty of other products are opened and closed repeatedly. Nobody wants to hunt for a storage container every time they open a bag of snacks.
A zipper solves that everyday problem.
It doesn’t necessarily replace the original seal. Many resealable pouches are heat sealed above the zipper before sale. The customer opens that section first and uses the zipper afterward.
And this is something worth testing yourself. Open the sample. Close it. Open it again. Do it several times. If lining up the zipper is annoying for you, it probably won’t become less annoying for the customer.
Heat-Seal Bags Keep Things Simple
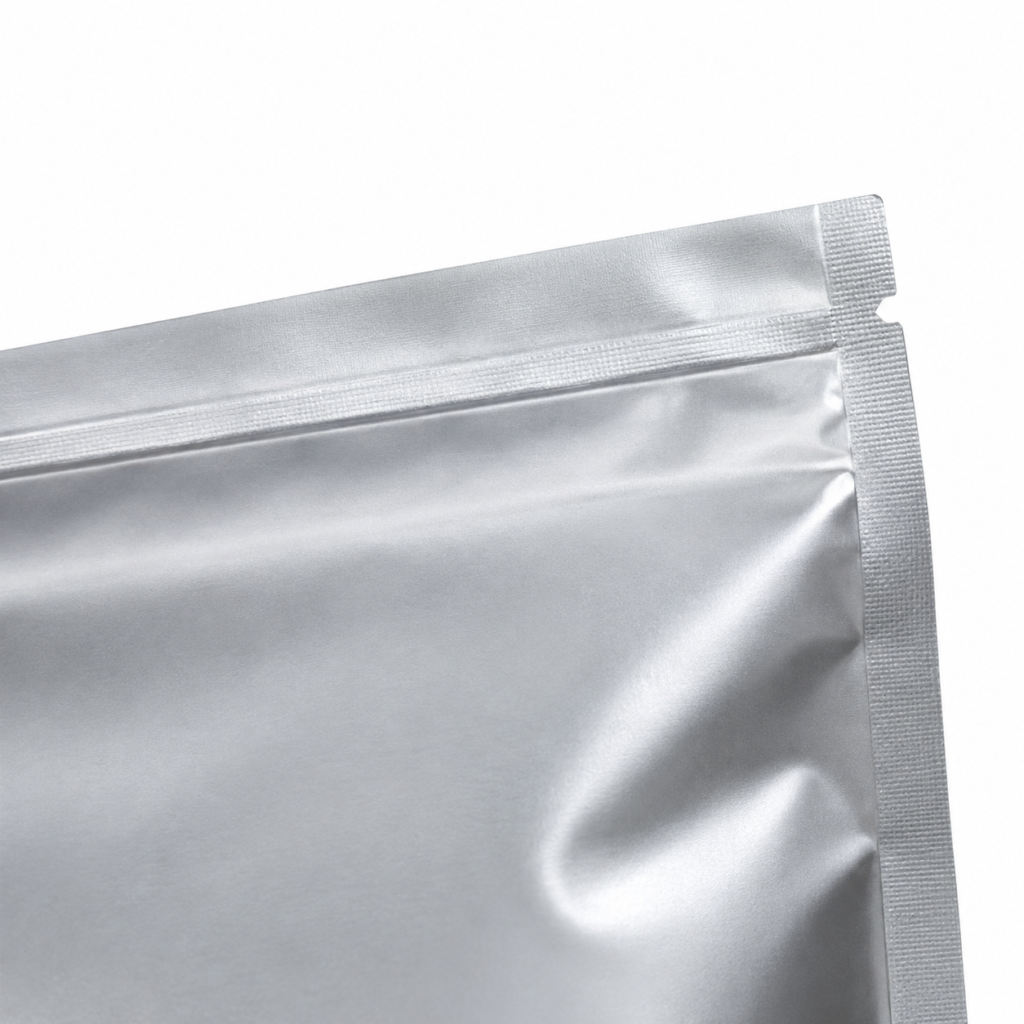
For products that don’t need to be resealed, a heat-seal pouch may be enough.
Fill it, seal the opening, and the package remains closed until the customer is ready to use it.
The important part is making sure the bag and your sealing setup actually work together. Film structure, temperature, pressure, and sealing time can affect the finished seal.
This is one of those details that’s easy to overlook when you’re focused on artwork. A beautiful bag with an unreliable seal is still a packaging problem.
Test production samples on the equipment you’ll actually use whenever possible.
Child-Resistant Bags Solve a Different Problem
Child-resistant packaging shouldn’t be treated as another visual style.
The closure is designed around restricted access, and when child-resistant packaging is required for a particular product, the specific package and applicable testing matter.
That becomes relevant for certain product categories, including some CBD Mylar Bags, depending on what is being packaged and where it will be sold.
In other words, don’t pick a pouch because the zipper looks child resistant. Confirm what the packaging is designed and tested for, then work on colors, printing, and finishes.
Function comes first here.
Windows Work When the Product Is Worth Seeing
Sometimes the strongest product photo is the product itself.
A small clear window can work particularly well for colorful candy, cookies, tea, dried fruit, nuts, or anything else where texture and appearance help someone decide whether to buy.
You don’t necessarily need a huge window either. A small section can give customers enough of a look while leaving plenty of room for branding.
There are cases where it doesn’t make sense. If light exposure is a concern, for example, showing the product may be less important than protecting it.
But for something like Custom Cookie Bags, a thoughtfully placed window can do a job that another illustration or product photograph simply doesn’t need to do.
Kraft, Metallic, or Holographic? That’s Mostly a Brand Question
Once the basic pouch structure is right, the visual choices get more interesting.
Kraft-style bags tend to suit brands going for a simpler, more natural-looking presentation. Metallic surfaces can create a sharper, polished appearance. Holographic packaging is hard to miss and can work well when the brand is intentionally playful or bold.
None of those finishes is automatically premium.
A holographic pouch on the wrong product can look forced. So can a Kraft finish chosen simply because “natural” packaging is popular.
Look at the brand first. If your packaging is normally quiet and minimal, the pouch should probably speak the same language.
So, Which Type Should You Order?
Don’t start with the supplier’s list of bags. Start with the product sitting in front of you.
How much of it are you packing?
Will someone use it once or ten times?
Does it need to stand on a retail shelf?
Would seeing the contents make the product more appealing?
Does it need a particular barrier structure?
How will your team fill and seal it?
Those answers quickly narrow down the options.
A sample-size product may need nothing more than a small flat pouch. Snacks might be better in a resealable stand-up bag. Bulk contents may need gussets. A premium coffee brand may decide that the extra structure of a flat-bottom pouch is worth it.
There is no prize for choosing the bag with the longest feature list.
Build the Bag Around the Product, Not the Other Way Around
This is where custom mylar bags become genuinely useful.
Customization isn’t just putting a logo on a stock pouch. It gives you the chance to think about the package as a whole: size, structure, zipper, seal, materials, printing, finish, and the way all of those choices fit the product.
Maybe you need a window but don’t need a zipper. Maybe resealability matters far more than an elaborate finish. Or perhaps the simplest pouch structure works perfectly, leaving the artwork to do most of the branding work.
Those are better decisions than adding features simply because they’re available.
Start with how the product needs to be packed, protected, displayed, and used. Then build the packaging around those needs.
The result doesn’t have to be the fanciest Mylar bag on the shelf. It needs to be the one that feels like it was made for what’s inside.
FAQs
What are the main types of Mylar bags?
Common options include stand-up pouches, flat bags, three-side-seal bags, gusseted bags, flat-bottom pouches, zipper bags, heat-seal bags, child-resistant pouches, window bags, and different printed or specialty-finish options.
Which Mylar bag is best for food?
That depends on the food. Portion size, barrier needs, storage conditions, sealing method, and whether customers need to reseal the package should all be considered.
Can Mylar bags be custom made?
Yes. Depending on manufacturing capabilities, businesses can customize elements such as pouch dimensions, printing, finishes, windows, closures, and other structural features.
Do all Mylar bags come with a zipper?
No. Zippers are an optional feature. They make the most sense for products customers are likely to open and use more than once.